Your chatbot is a great way to generate extra sales for your eCommerce store. And with ActiveChat is extremely simple to connect your WooCommerce webshop with your chatbot.
In this tutorial, I am going to show you how to show your WooCommerce products in an ActiveChat chatbot.
Connect WooCommerce to ActiveChat
First, we need to connect WooCommerce to Activechat, so we can use the products from WooCommerce.
Make sure your WooCommerce store has everything in place:
- Your website should have a secure connection protocol (HTTPS).
- Smart permalinks should be enabled in WordPress settings. Go to Settings → Permalinks in your WordPress admin panel.
- Legacy REST API access should be enabled in the WooCommerce settings. Go to WooCommerce → Advanced → Legacy API and check that setting:

Once this is in place, go over to ActiveChat and log in.
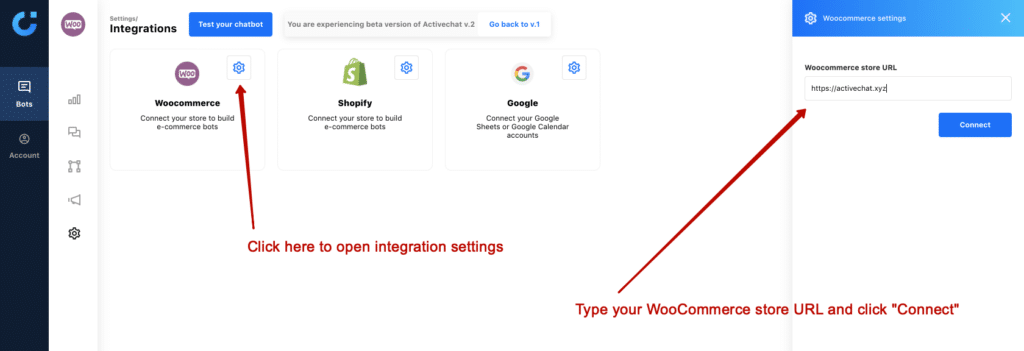
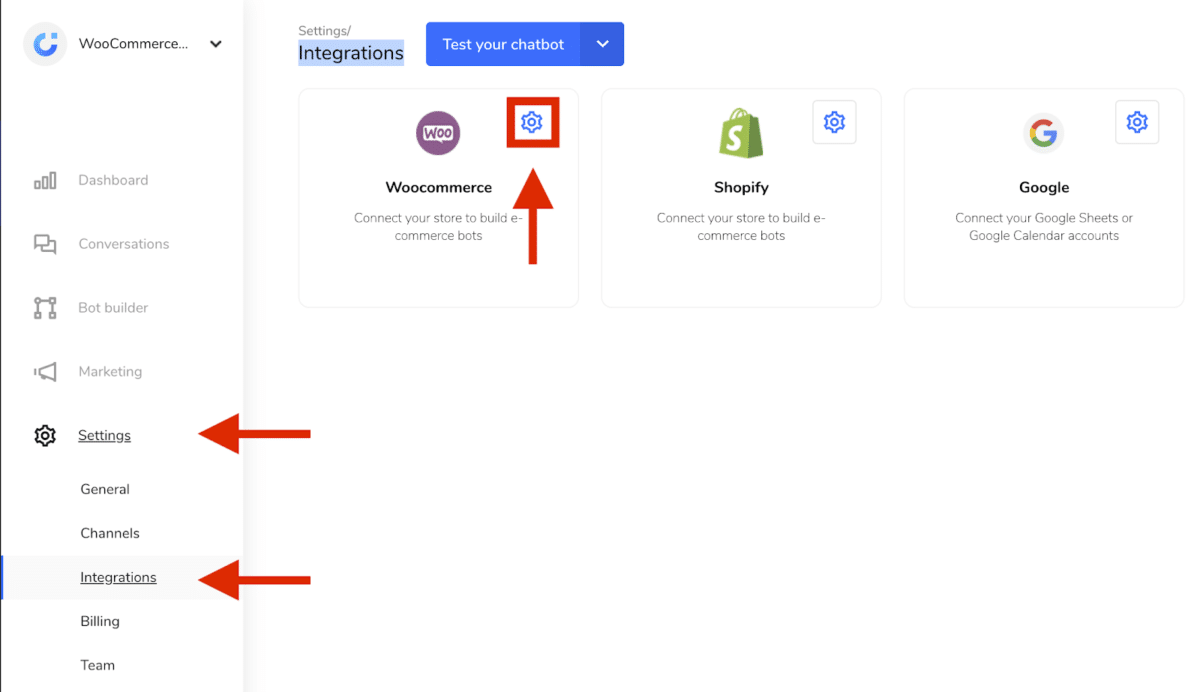
Open Settings → Integrations in the main chatbot menu on the left and click on the gear icon in the WooCommerce tile. Then fill in the URL of your store and click on “Connect”:
Now, fill in your username and password:
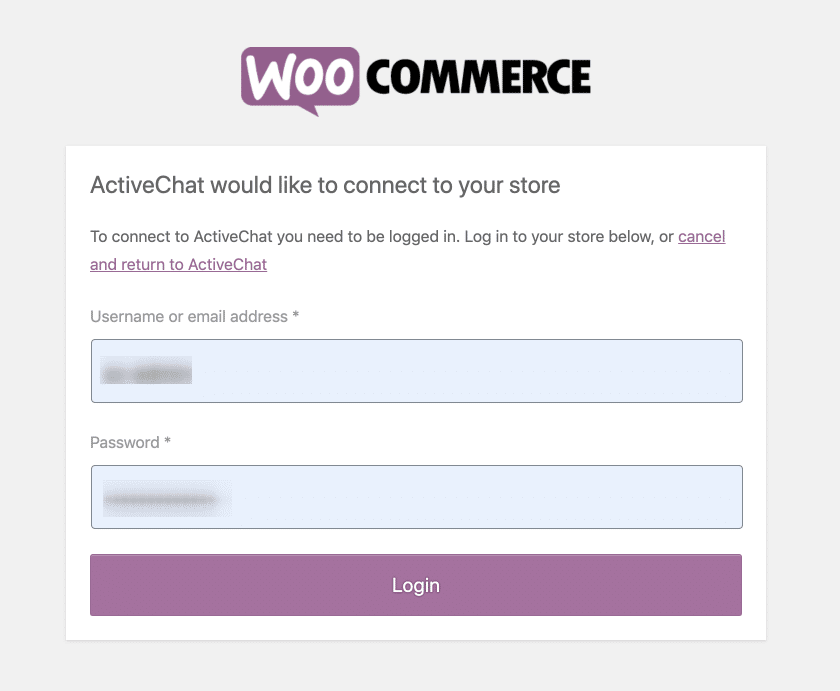
Then, there comes a window that will ask for permission to access your WooCommerce store by ActiveChat. Click on “Approve”:

Once you have approved, you will be taken back to ActiveChat and the integration settings will display all the products, categories, and variations of your WooCommerce store:

Show all categories in your chatbot
We have connected our WooCommerce store to ActiveChat. So, now it’s time to create the actual chatbot and show the different categories.
Important: Make sure that your WooCommerce categories have their own images because these will be used in the chatbot. If you didn’t set them yet, go to Products → Choose a category → Add thumbnail.
First, I will make a Welcome message, which has a greeting message and a button to go to our categories skill:
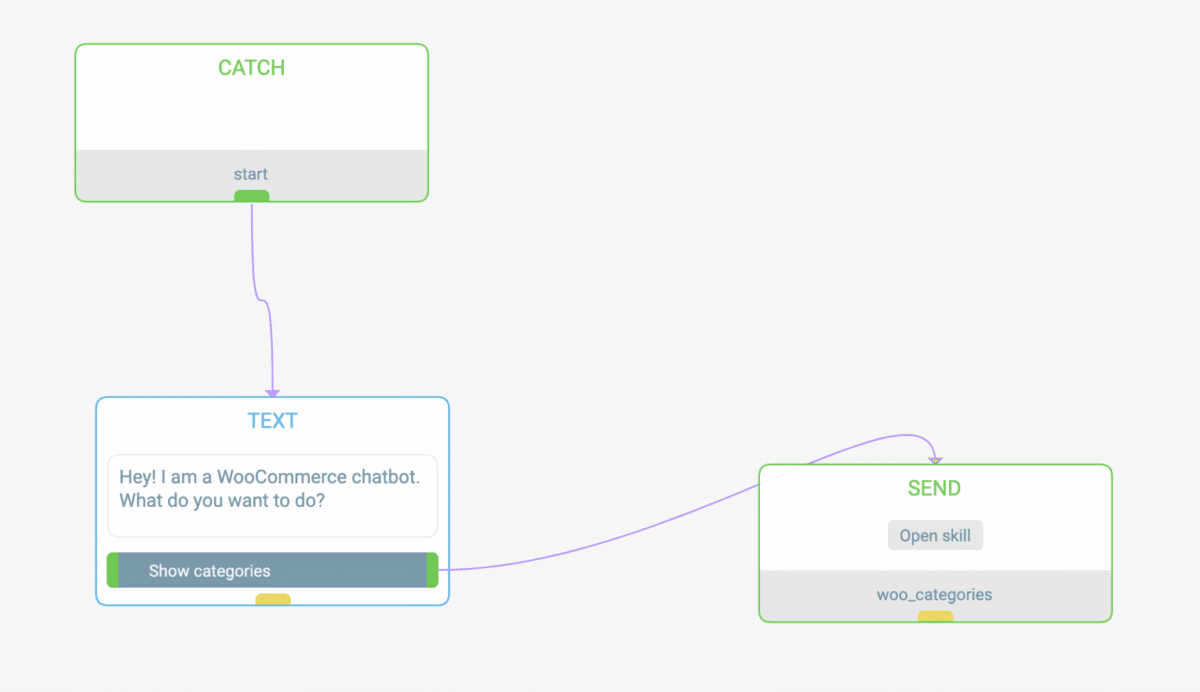
Which looks like this on the front-end:

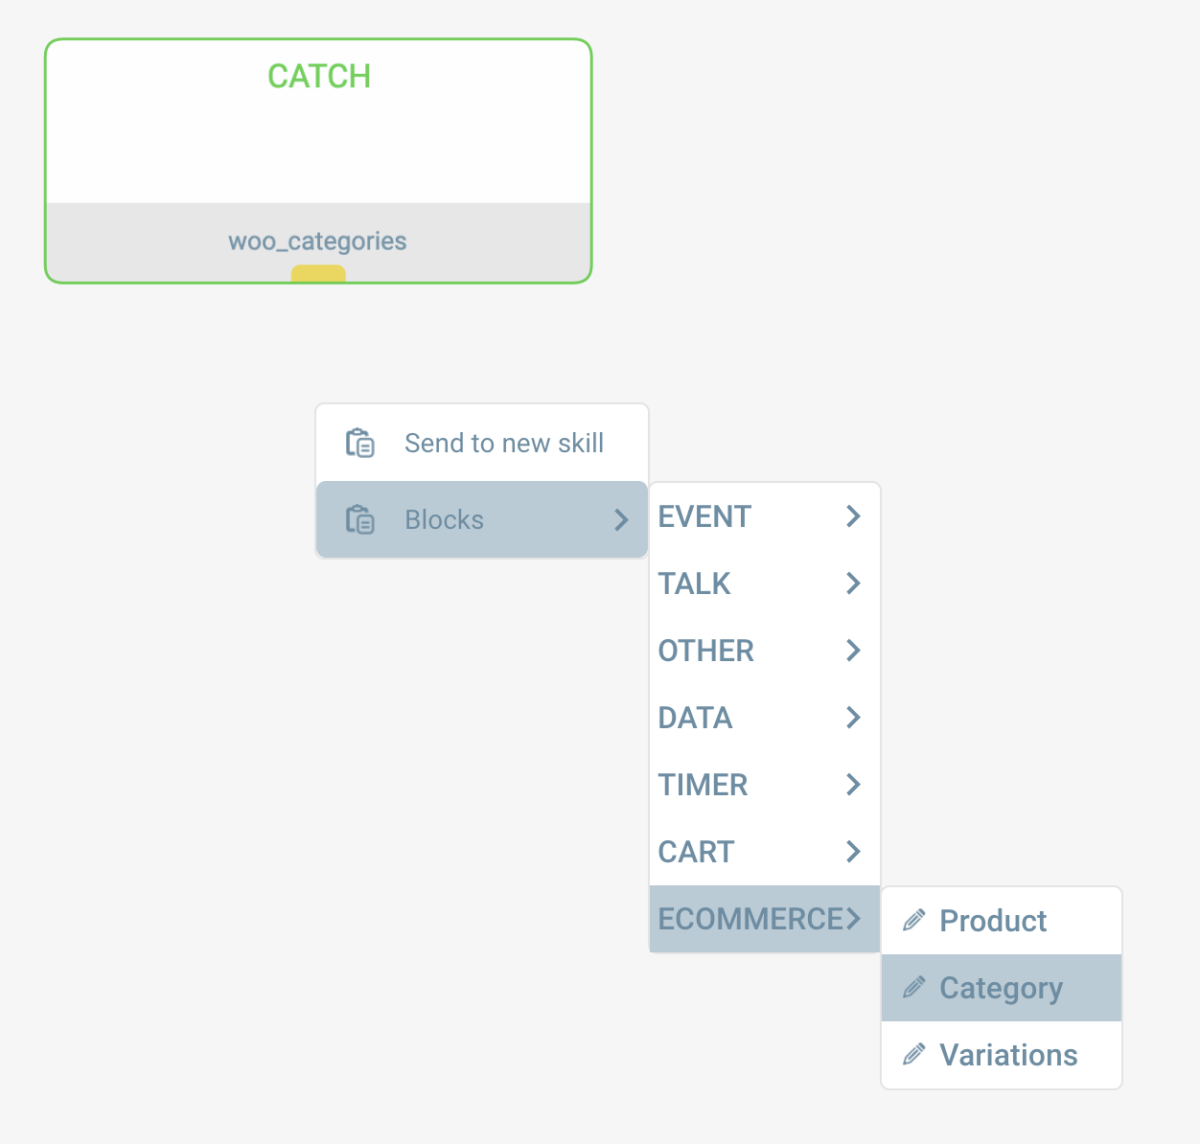
So, in our “woo_categories” skill (which shows all the categories of your store) we need to add an element after the catch event. You can do this by dragging a line from the Catch event to somewhere in the editor and then click on Blocks → eCommerce → Category:
This should look like this now:
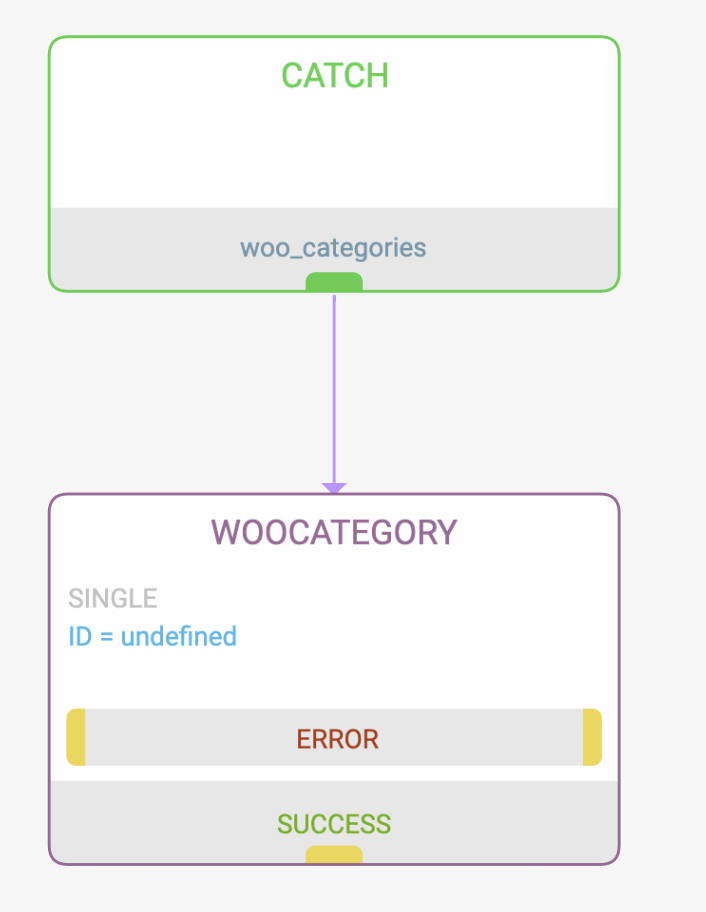
Now, click on the WooCategory block and use the following settings:
- Single/Multiple = Multiple
- Category = 0
- Exclude = 15
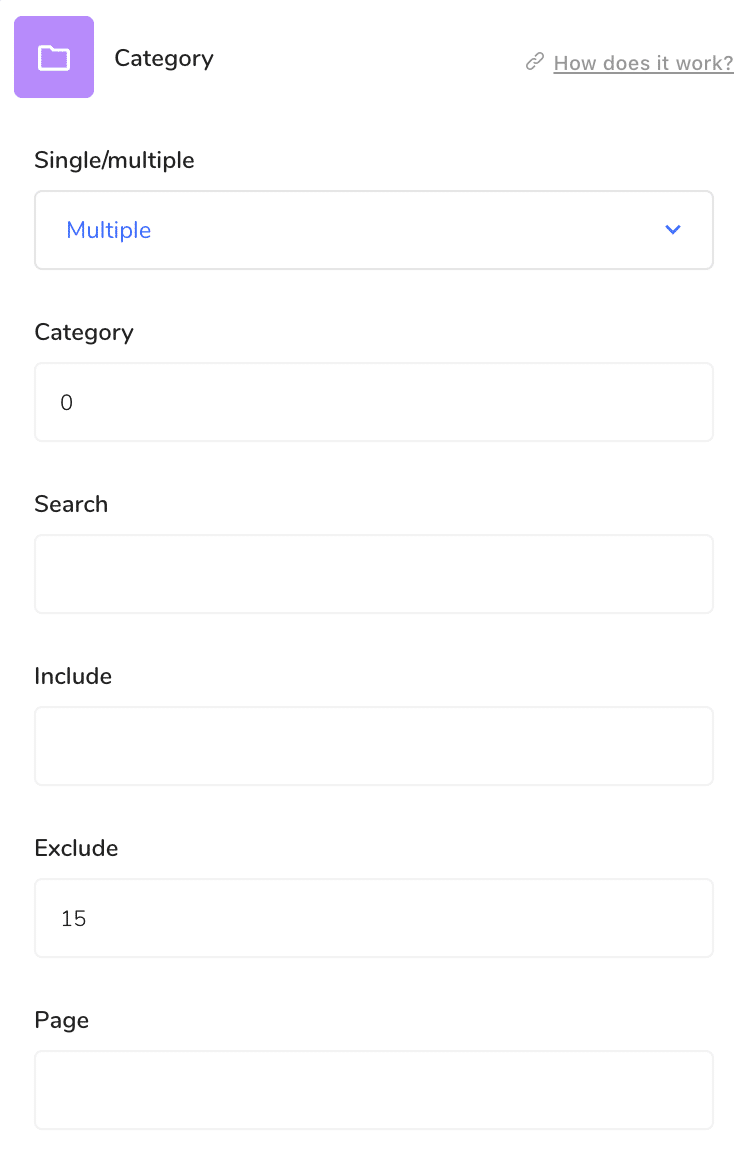
There are also other settings, but you can just leave those ones out because we are not using them right now.
What this block does, is that it grabs all the categories of your WooCommerce store, except for the category with the ID 15. The reason why I leave that category out is that it is the standard Uncategorized category, and I don’t want that to show it in my chatbot.
But the ID 15 is only applicable to my category, so how do you find the ID of your Uncategorized category?
Go to Settings → Integrations and click on the gear icon again in the WooCommerce tile:
Then an overview of your WooCommerce categories comes up. Search here for your Uncategorized category and look up the ID:
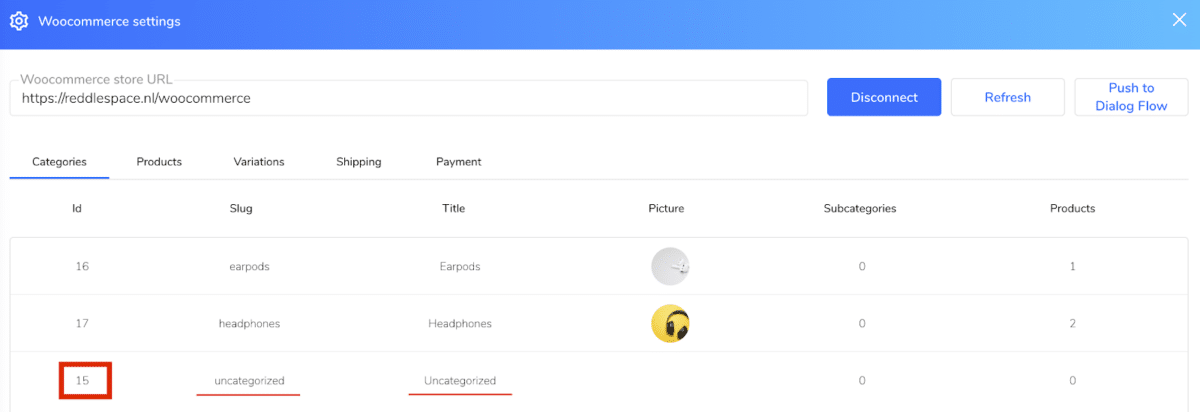
You need to use that number in the Exclude setting of your WooCategory block.
Okay, now we get back to our chatbot flow.
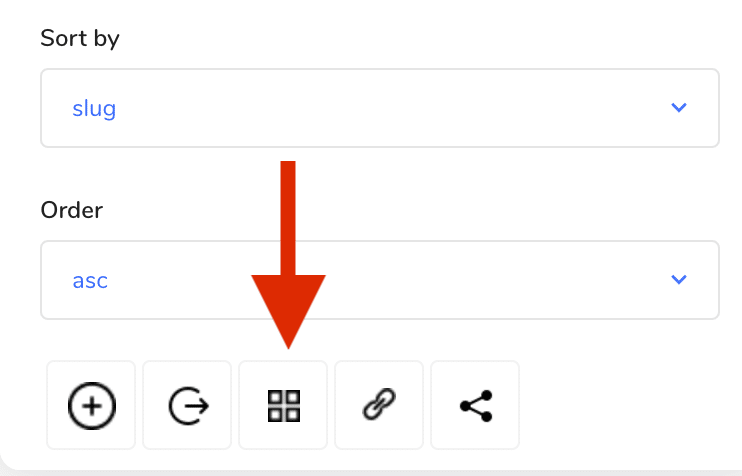
Next, go back to your WooCategory block. Click on it and scroll down, hover over the + icon and click on the square icon:
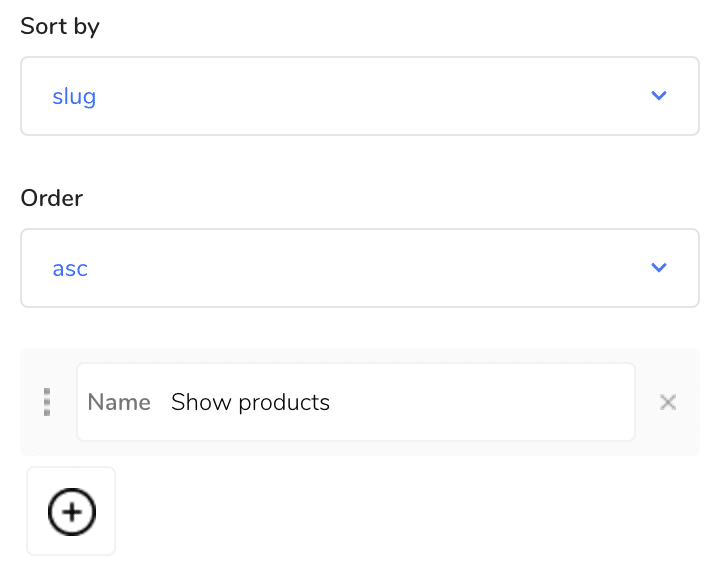
Now, fill in “Show products” as button name, so it looks like this:
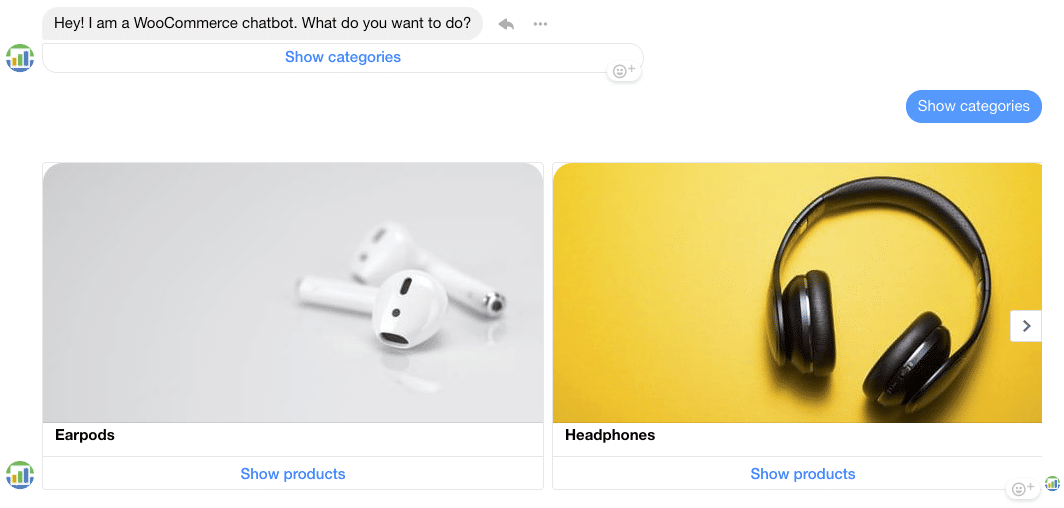
Then, hit “Run” on the top-right corner to update your chatbot. Now your chatbot shows all the categories of your WooCommerce store, like this:
Show products per category
But, we also want to show the products per category, right?
Okay, let’s do that!
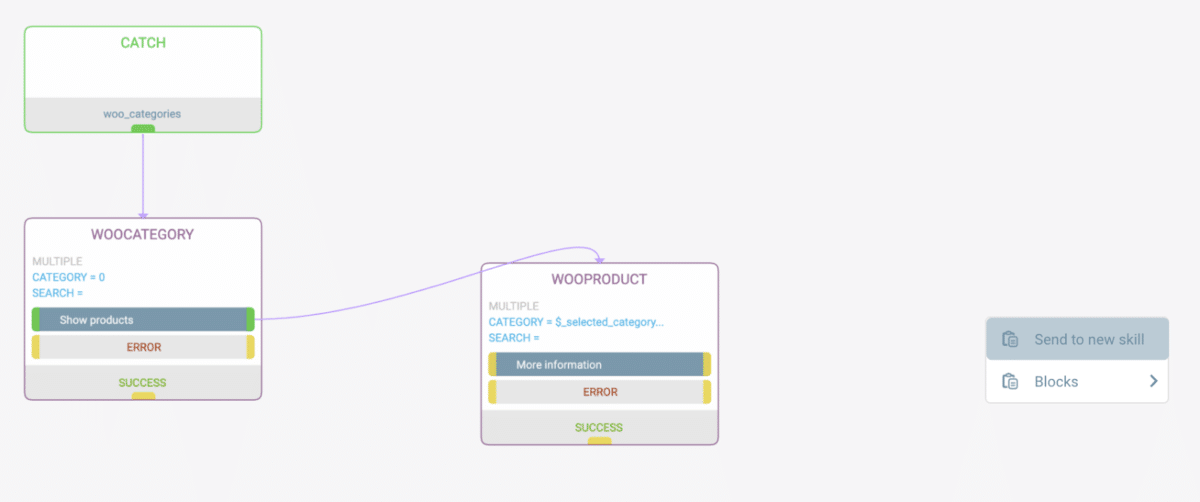
Drag an arrow from the Show products button in your WooCategory block to somewhere in the editor and then click on Blocks → eCommerce → Product:

Then, use the following settings:
- Single/Multiple = Multiple
- Category = $_selected_category_id
For the rest, you can use the default settings.
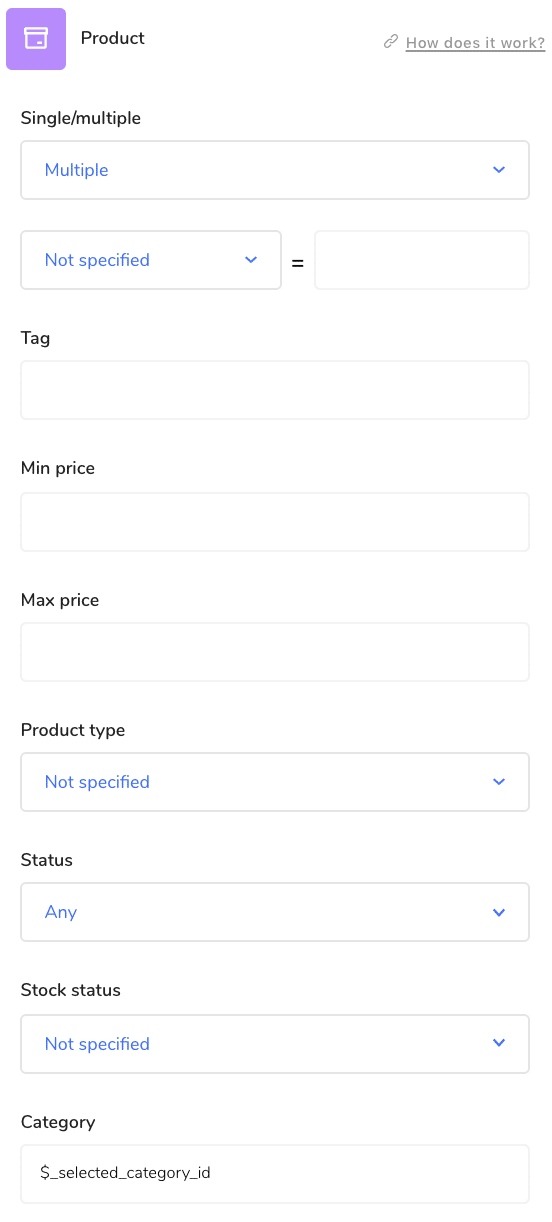
What this block does, is that it shows all the products from the category you just selected.
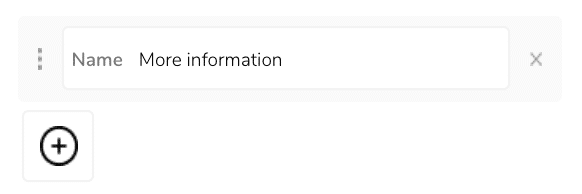
Now, scroll down and hover over the + icon and click on the square icon:

Now, fill in “More information” as button name, so it looks like this:
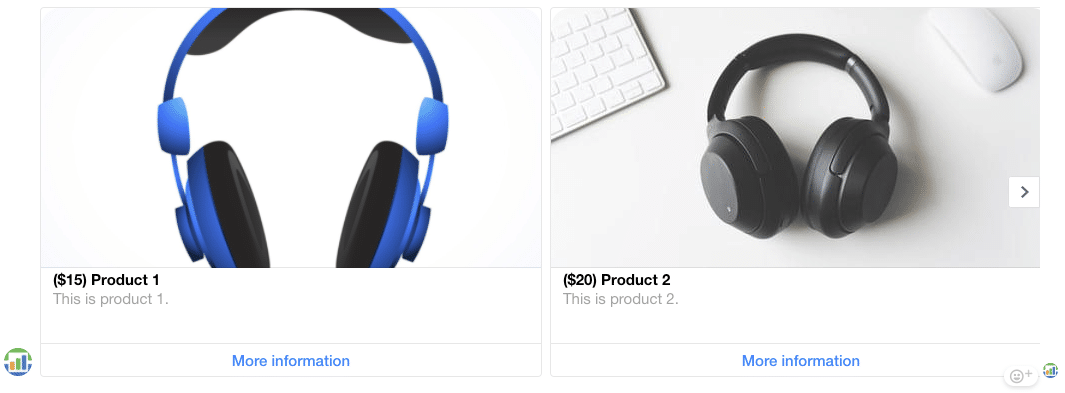
Now, we show all the products of a category in our chatbot:
Show individual products
The last thing we need to do is to show the individual products.
So, we need to draw an error from the button “More information” of the WooProduct block to somewhere else in the editor and click on “Send to new skill”:
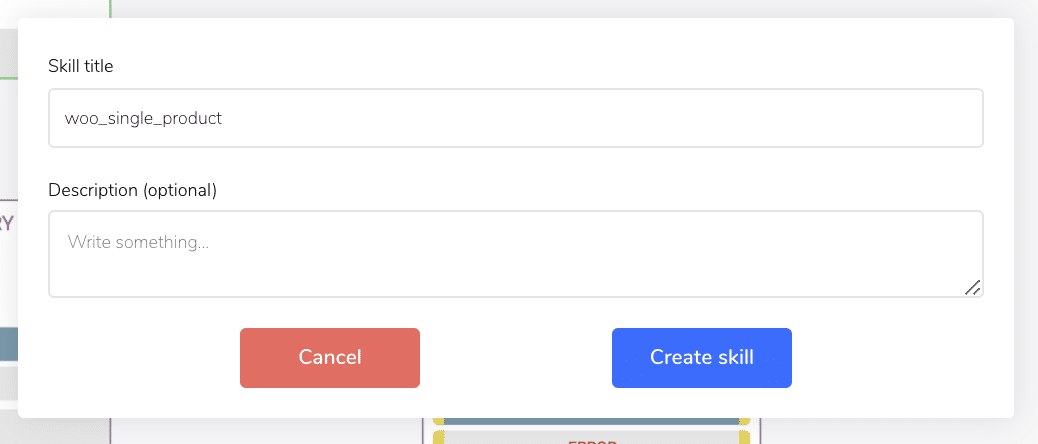
Give the Skill title “woo_single_product” and click on “Create skill”:
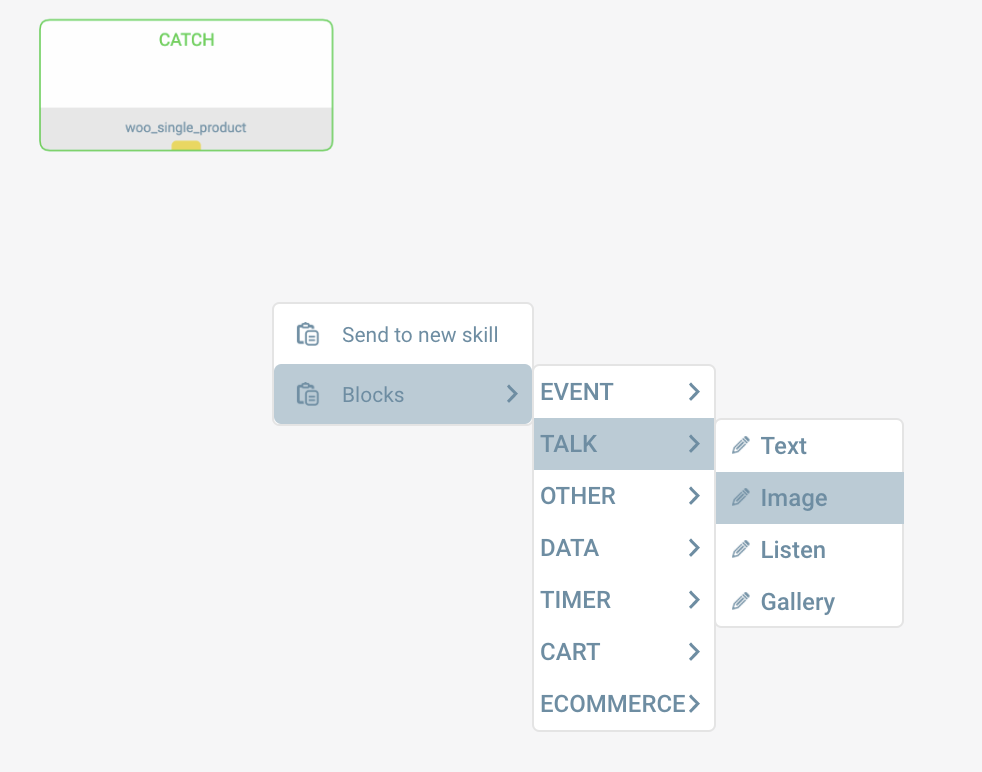
Then, draw an error from the Catch block to somewhere else in the editor and click on Blocks → Talk → Image:
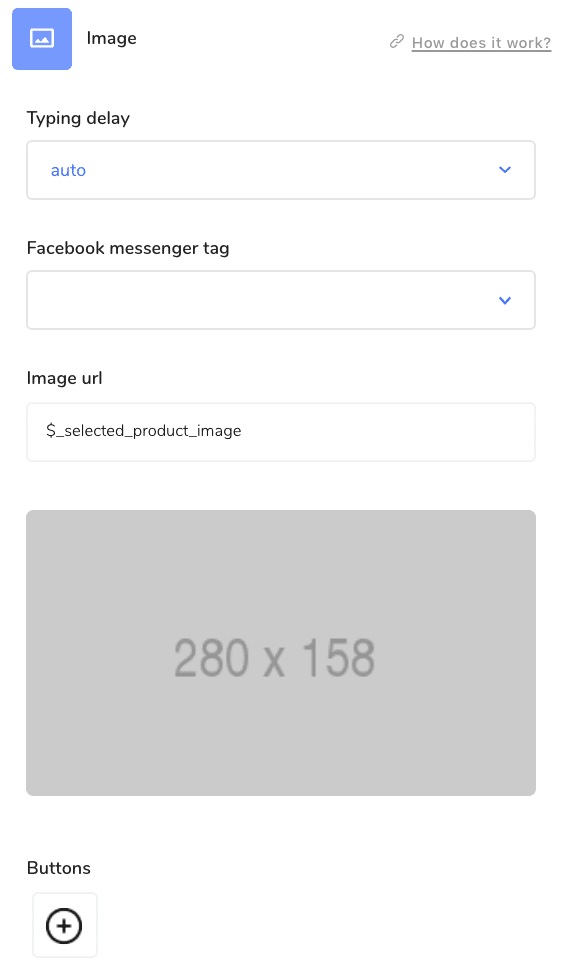
Use $_selected_product_image as Image URL in the Image block:
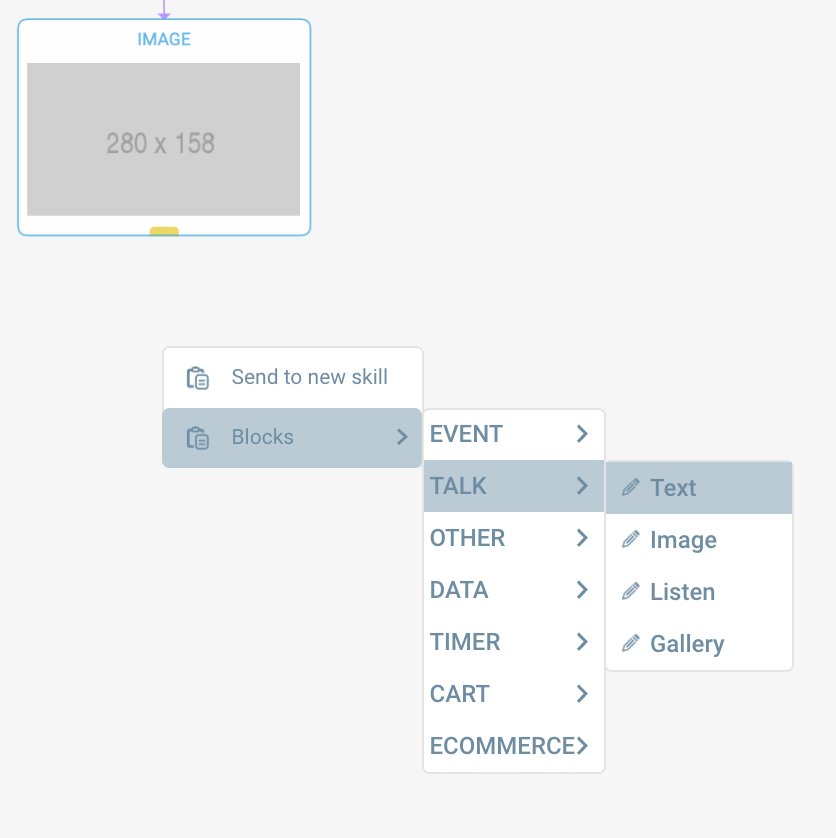
So now we show the image of the product. But adding some text is also nice.
Thus, connect the Image Block with a text Block by adding an arrow:
As text we use:
“$_selected_product_title is an excellent product.
Price: $_selected_product_price”:
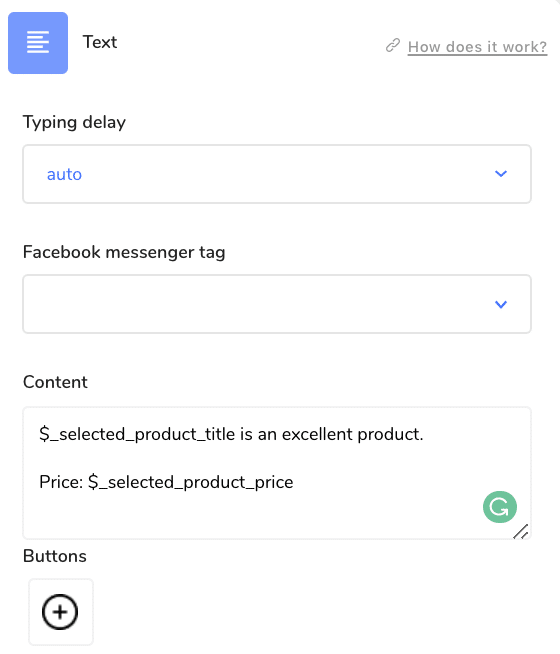
This text blocks shows the name of the product and the price. But, that’s not all! We also need to give the user a description of the product, so another Text block:

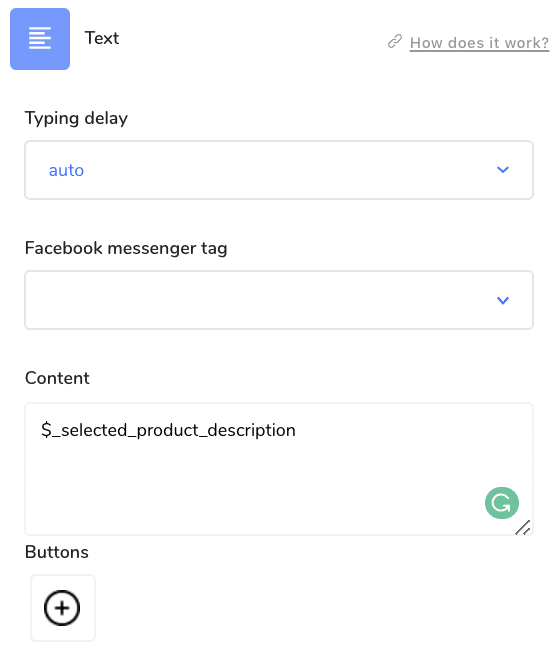
You can show the description by using $_selected_product_description in a Text block:
At last, we also want to let them go to the webshop. So, we can do that by adding a button. Hover over the + icon and then click on the Share icon:
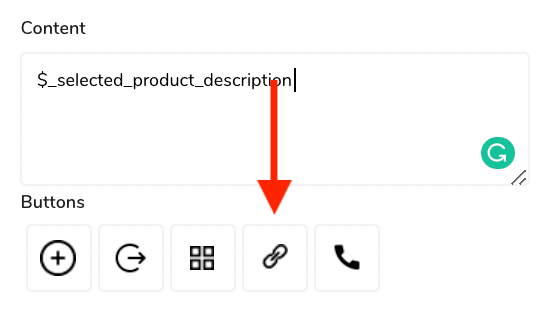
Then, add “Go to product” as Name of the button and “$_selected_product_url” as URL:

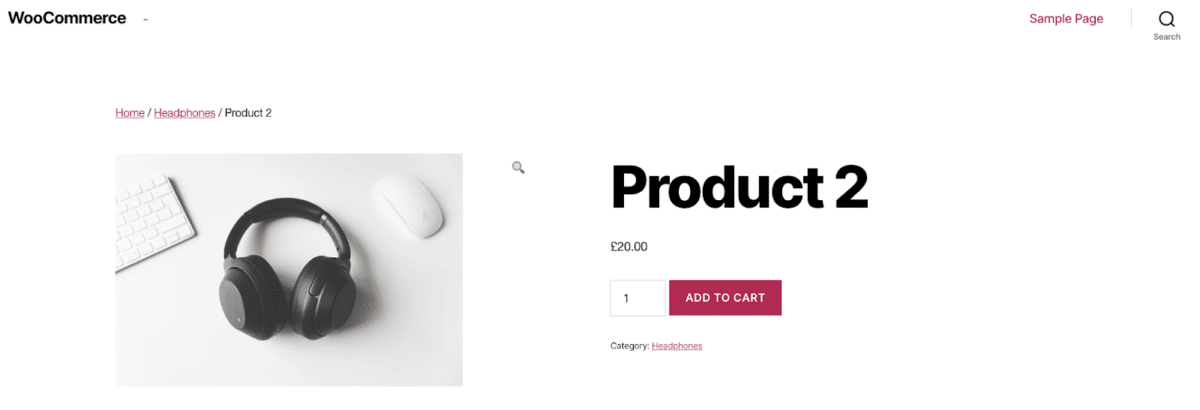
So it looks like this:
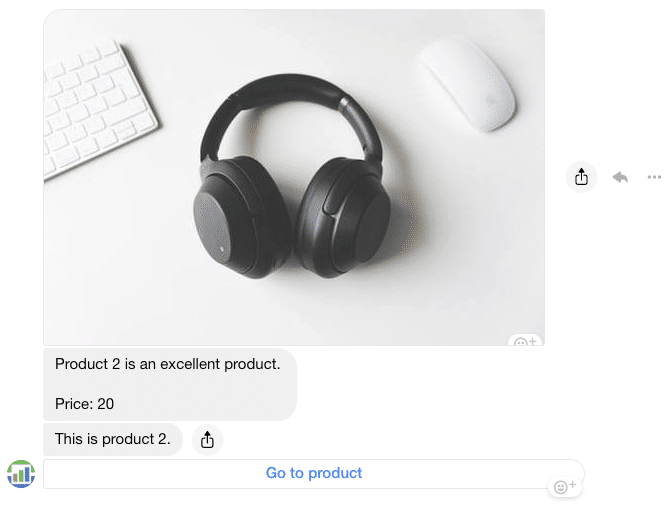
And when you click on the button, the user goes to your webshop: